OK, as promised I will set out the fitting instructions for the deep armrest. It may provide a direct replacement for the shallow US version or it might be a refit but you guys will get a good idea by comparing yours to the photos here.
The part number is DB2W-V0-630 for the CX3 and DA6C-V0-630 for the Mazda 2. The price is approximately £120 ($180) and I’m sure there would be some overseas postage. The part is widely available in the UK and I understand that this company will post overseas;
Genuine Mazda CX-3 Centre Arm Rest - DB2WV0630 | eBay
I have scanned the supplied instructions and they are attached for reference BUT! Be aware that unlike the instructions suggest, it is not necessary to completely remove the console. The steps numbered here do not match the attached pdf!
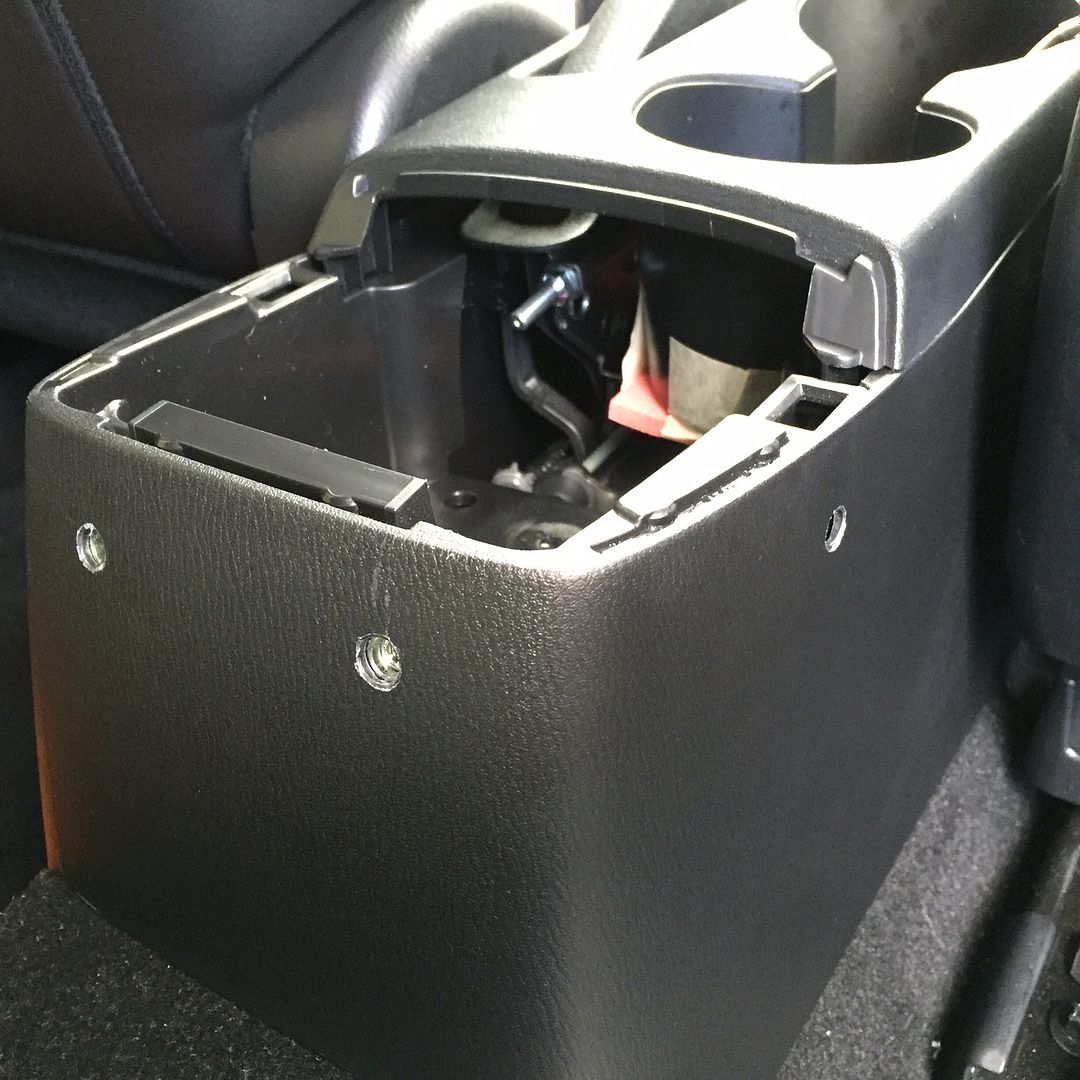
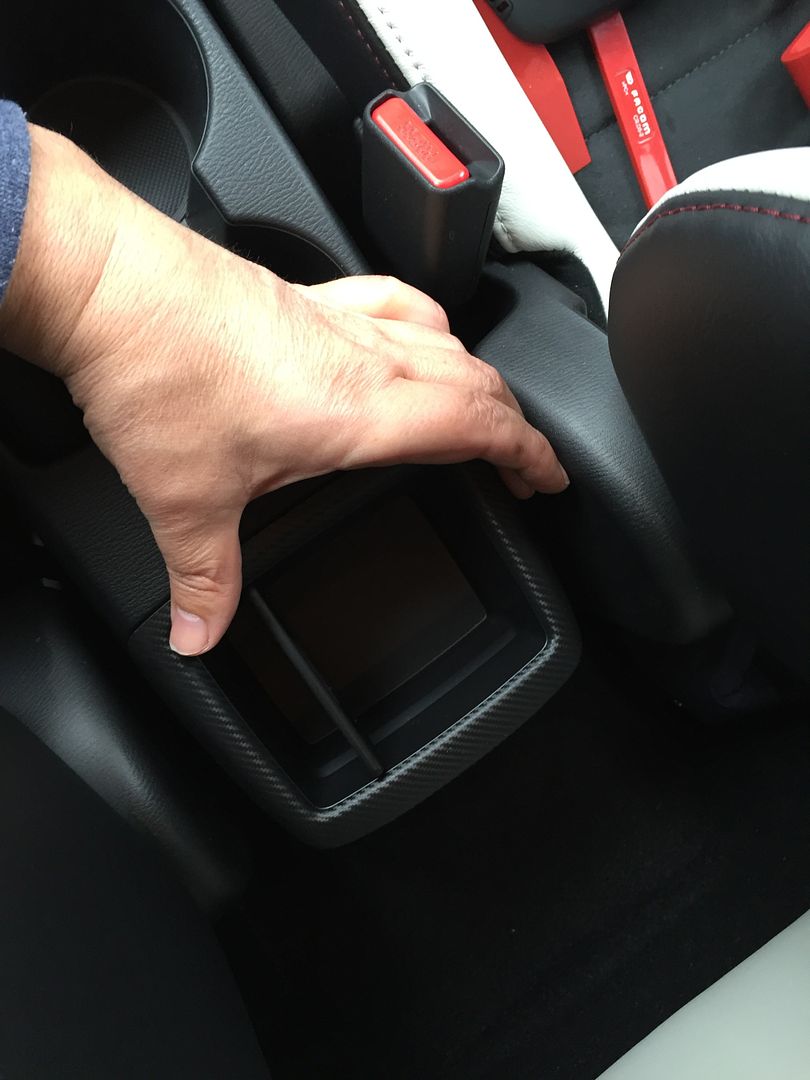
1. Lift out the rear trinket box from the console. A trim tool like one of these can be used;
TRIXES Car Non - Scratch Upholstery Trim Removal Kit & Valet Tool Set: Amazon.co.uk: Car & Motorbike
....or you can use a taped screwdriver. I just pulled mine out with my finger nails;
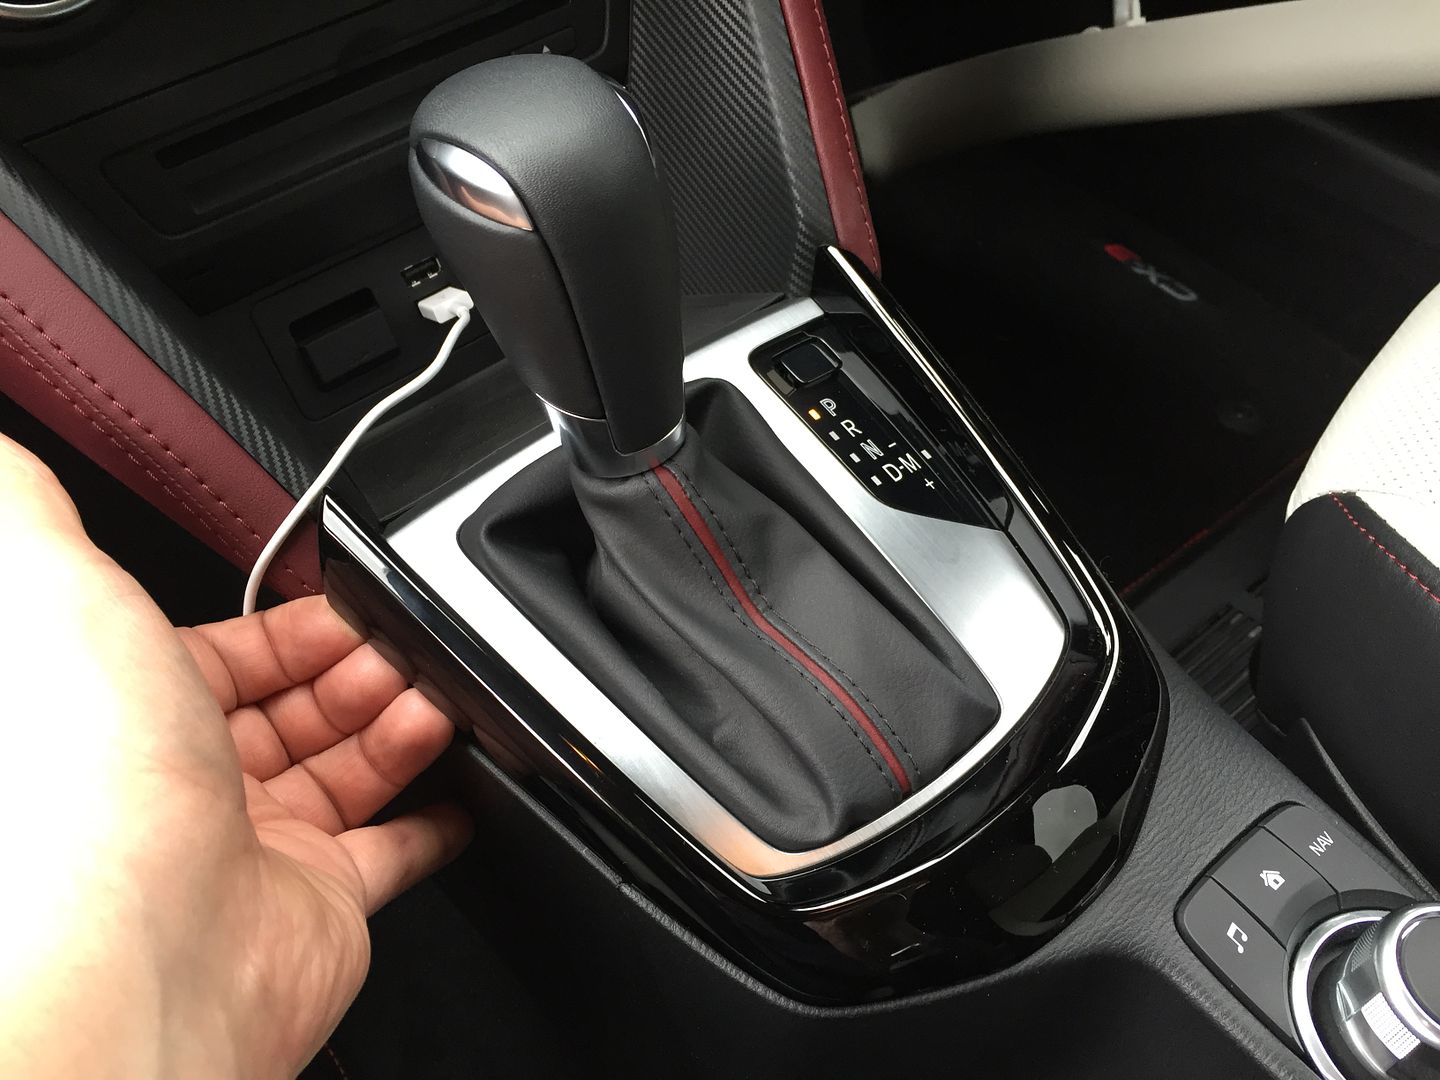
You US guys will have to remove your existing arm rest if fitted.
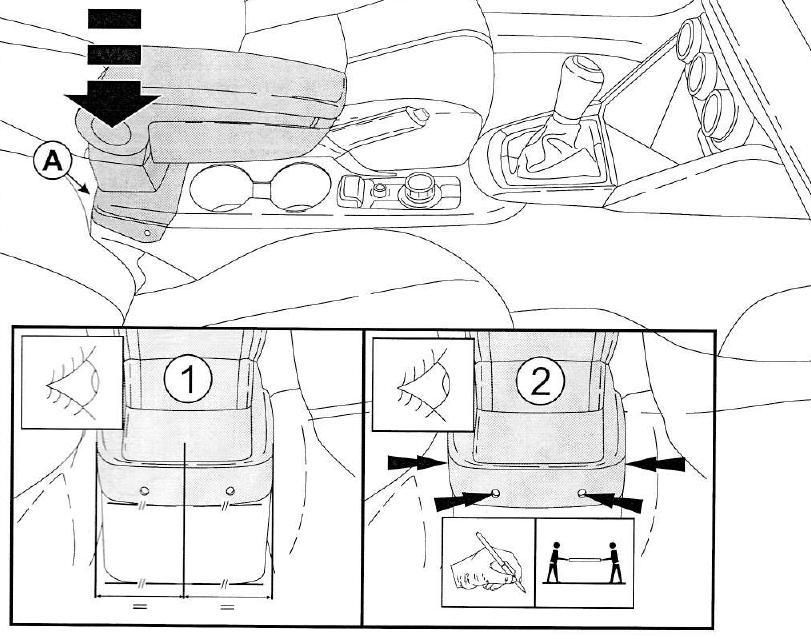
2. Now you need to position the arm rest over the console in order to mark the holes. I’ve cut this picture out of the instructions so you can see. Place the arm rest in position and centre it by eye. Use a sharp pencil to mark the for holes underneath;
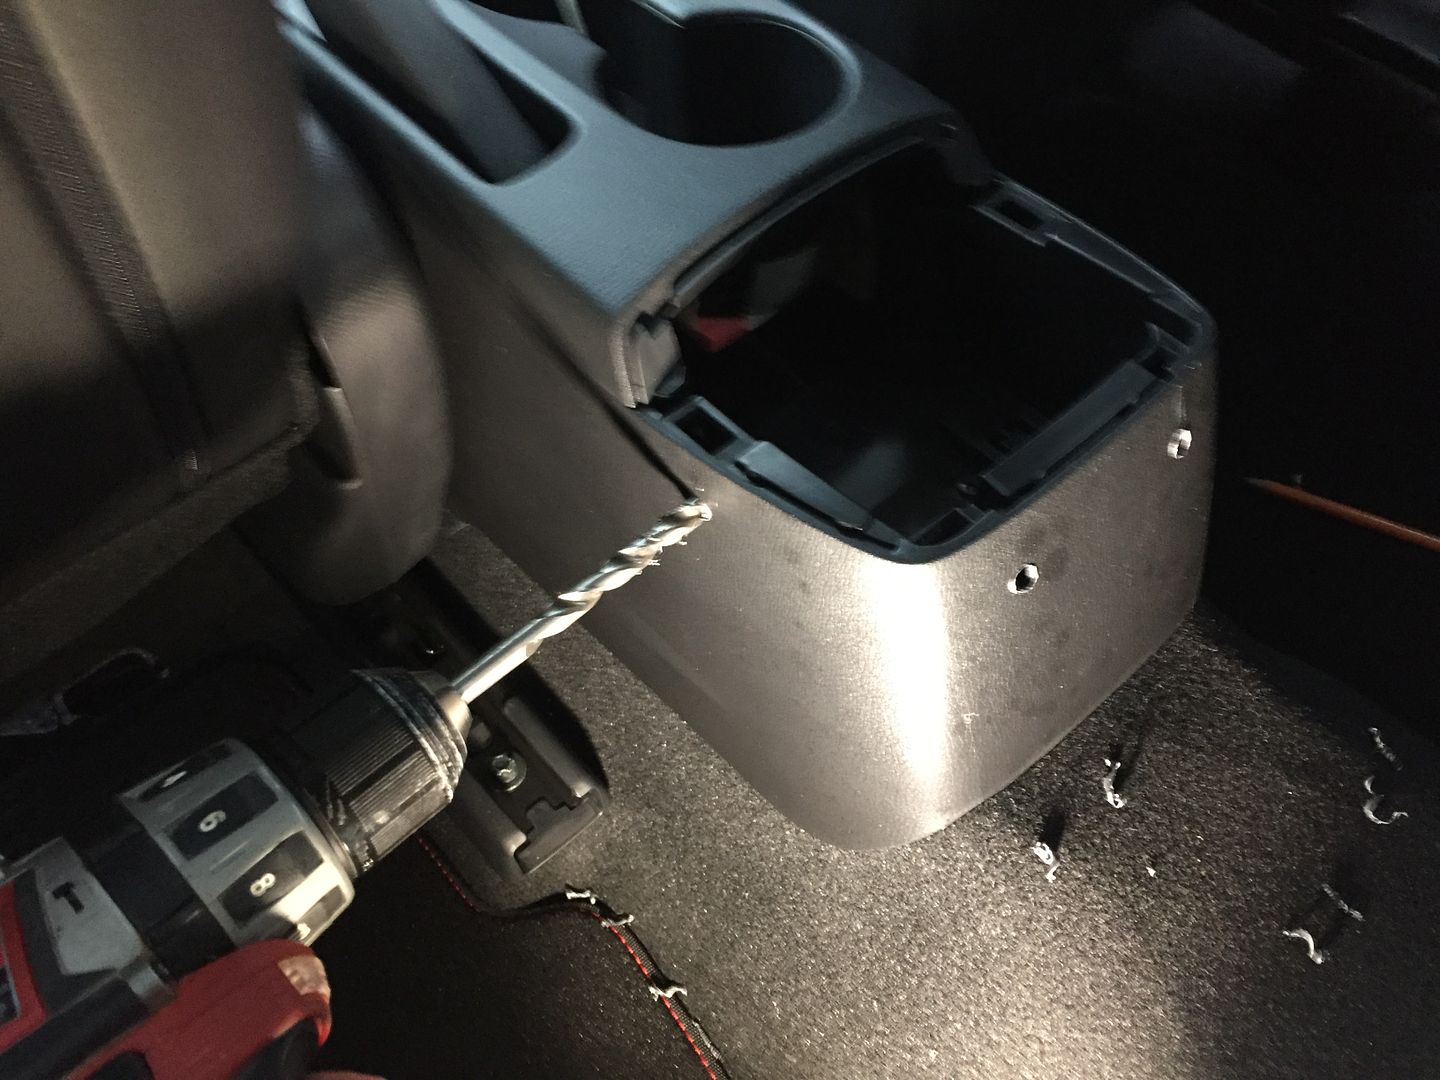
3. Now using a pilot drill then an 8mm drill, you can carefully make the holes in the console;
....and use a countersink or large drill to clear the swarf;
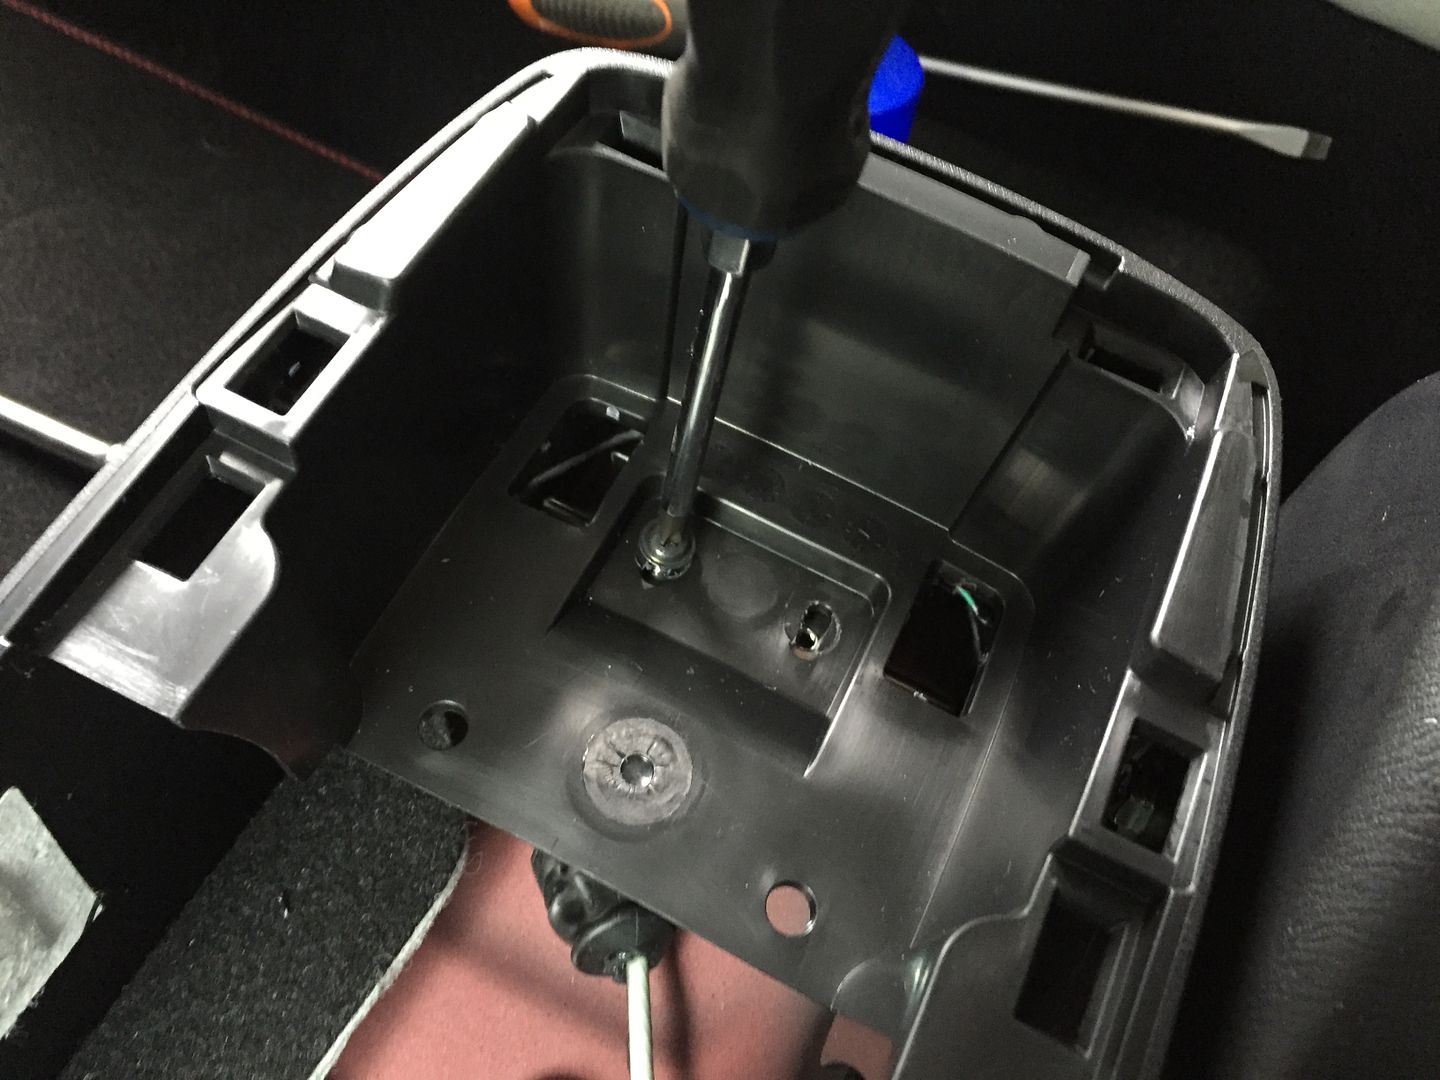
4. Now, moving to the front seat, get your finger nails or trim tool under the edge of the gear stick surround and gently ease it up evenly to detach it;
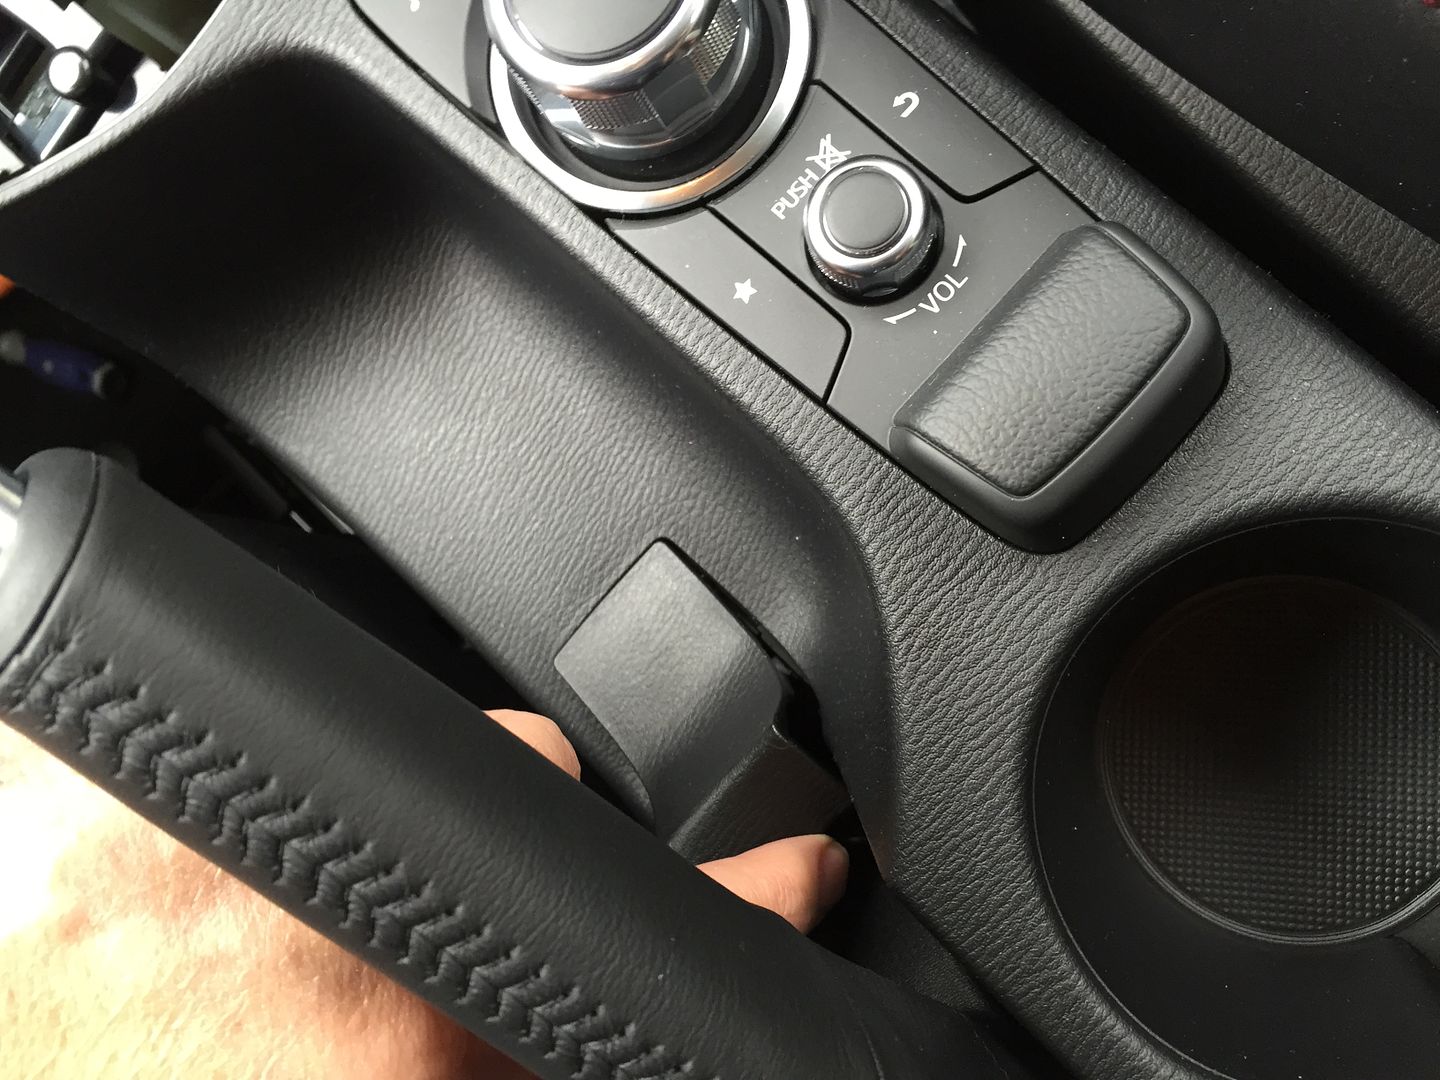
5. Make sure the handbrake is fully applied and although I didn’t disconnect the battery, you might prefer to. Next, put your finger under the handbrake filler panel and pull it out;
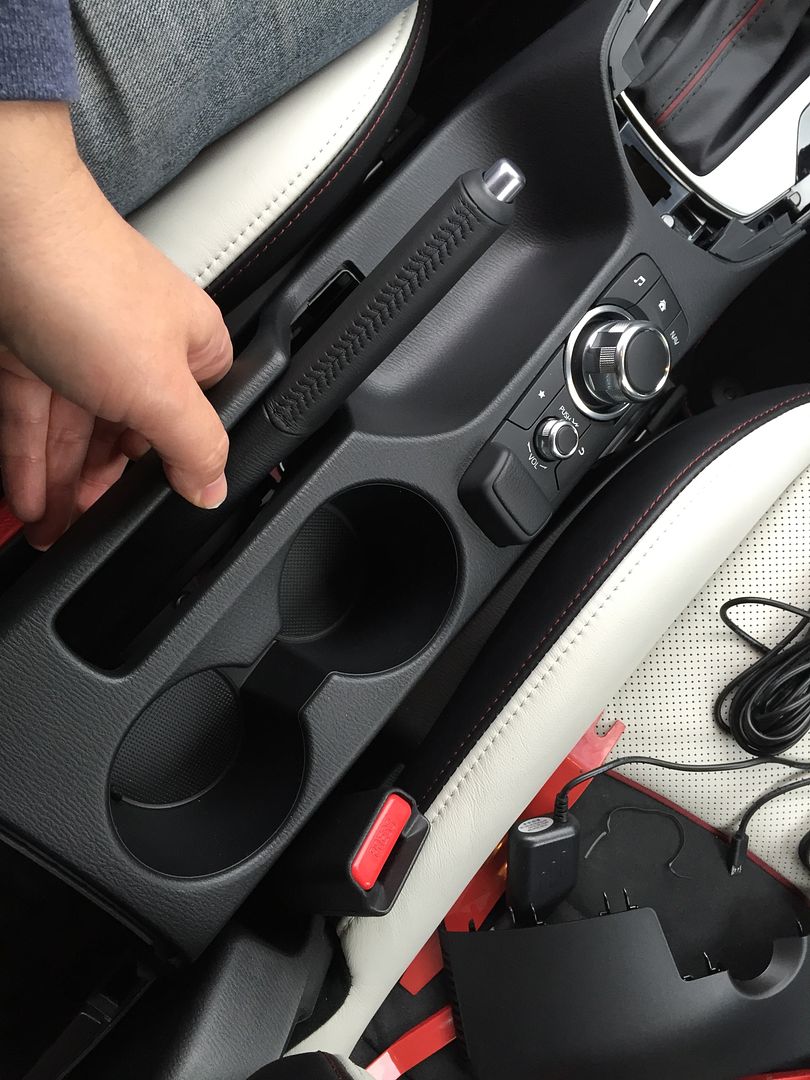
6. Get your hand under the back of the upper console panel and pull it up to detach it (it will be stiff but it will come);
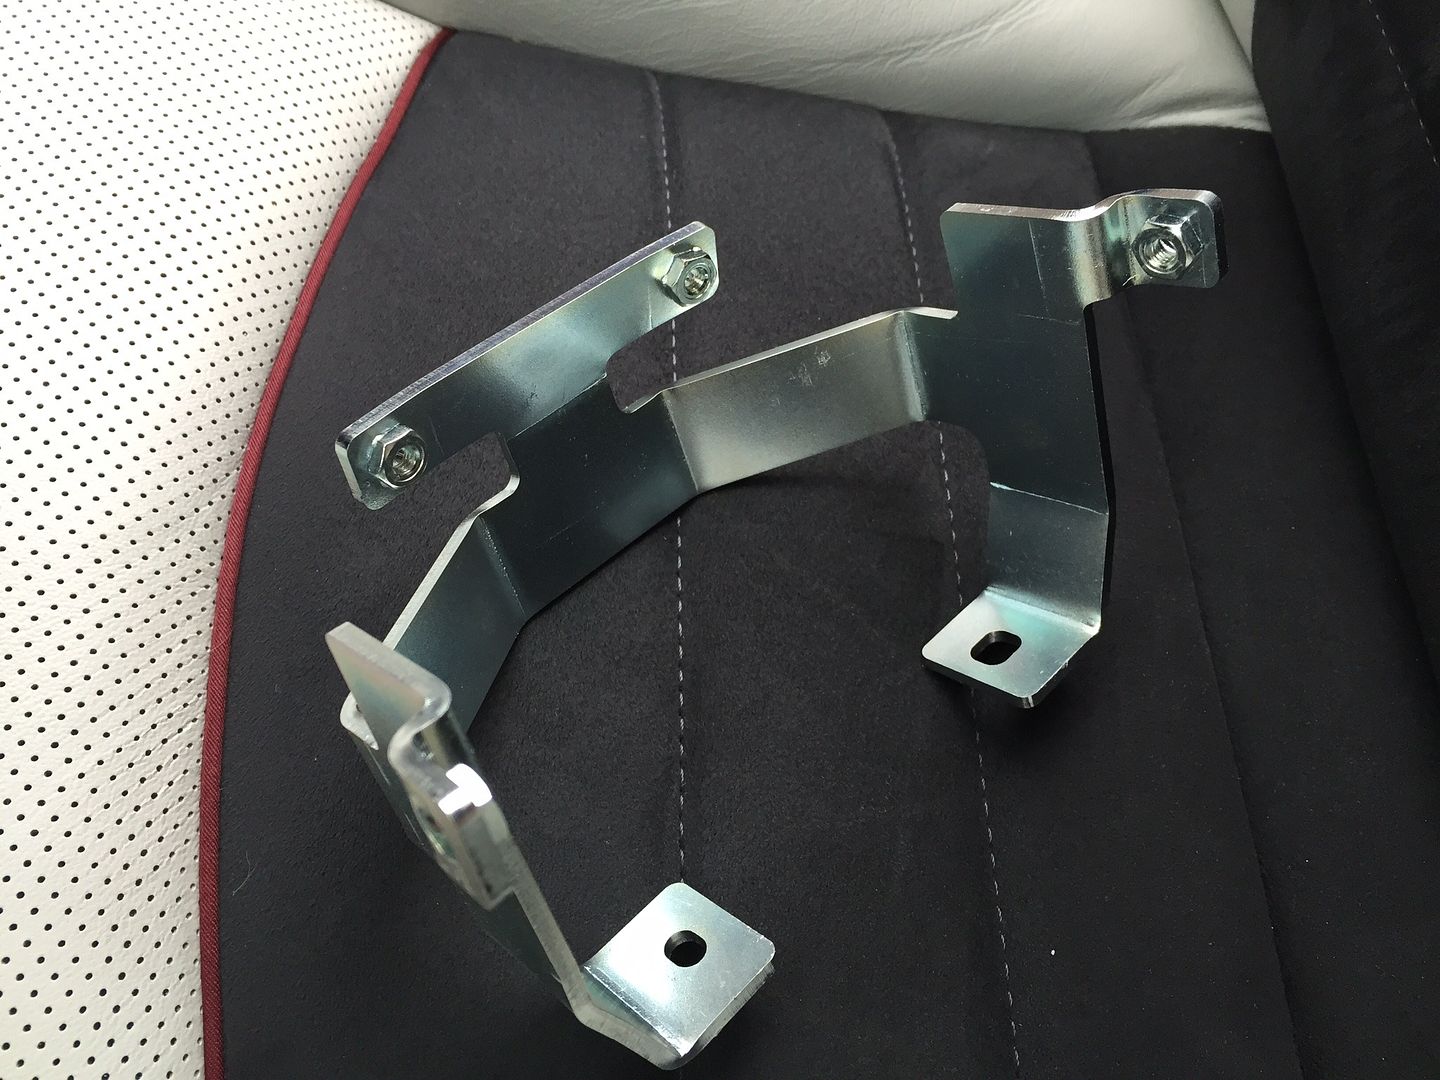
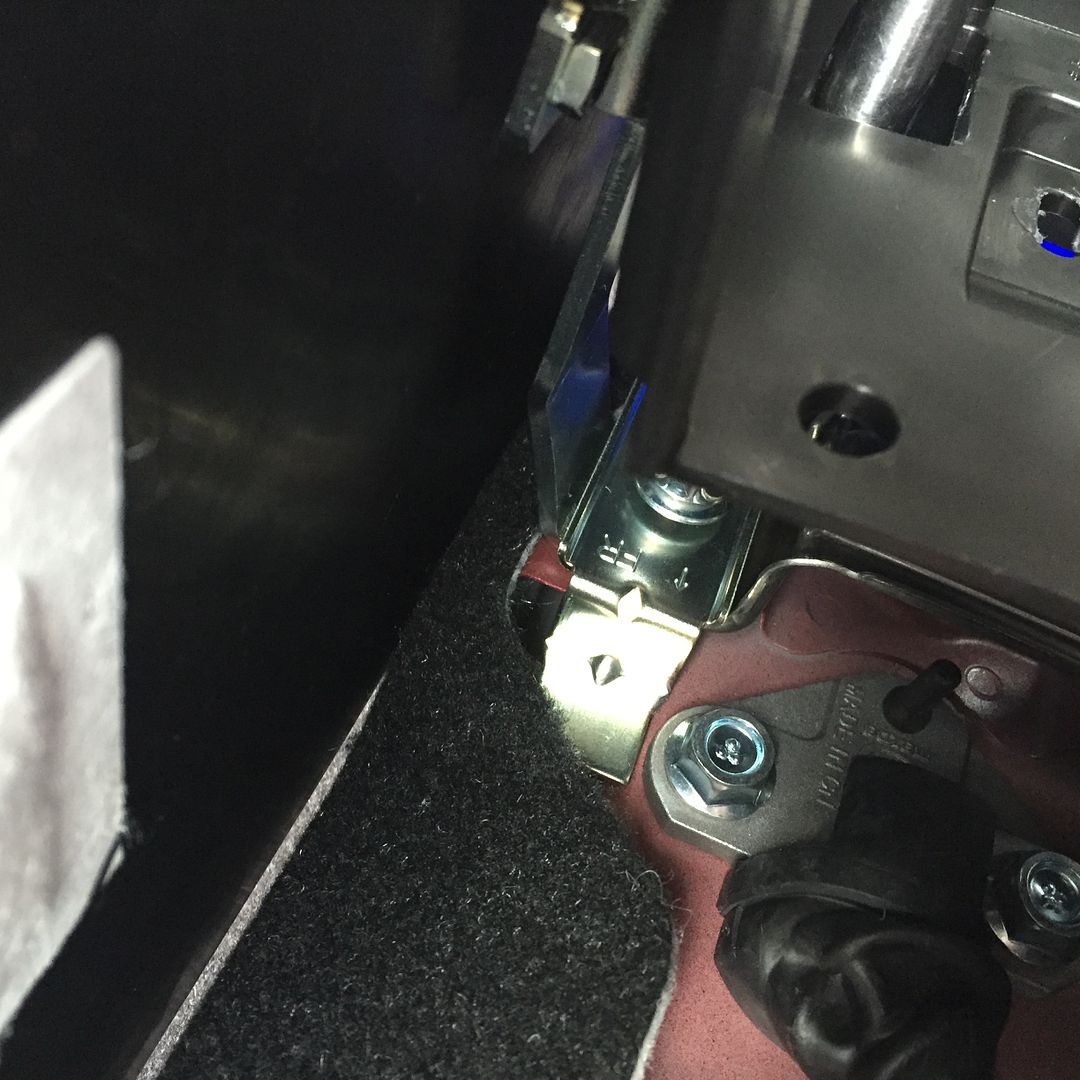
7. Lift it over the handbrake lever and detach the plug from the command controller. Place the panel to one side. To fit the arm rest and provide the necessary stiffness to resist leaning on it, you will have to fit this bracket inside the shell of the console;
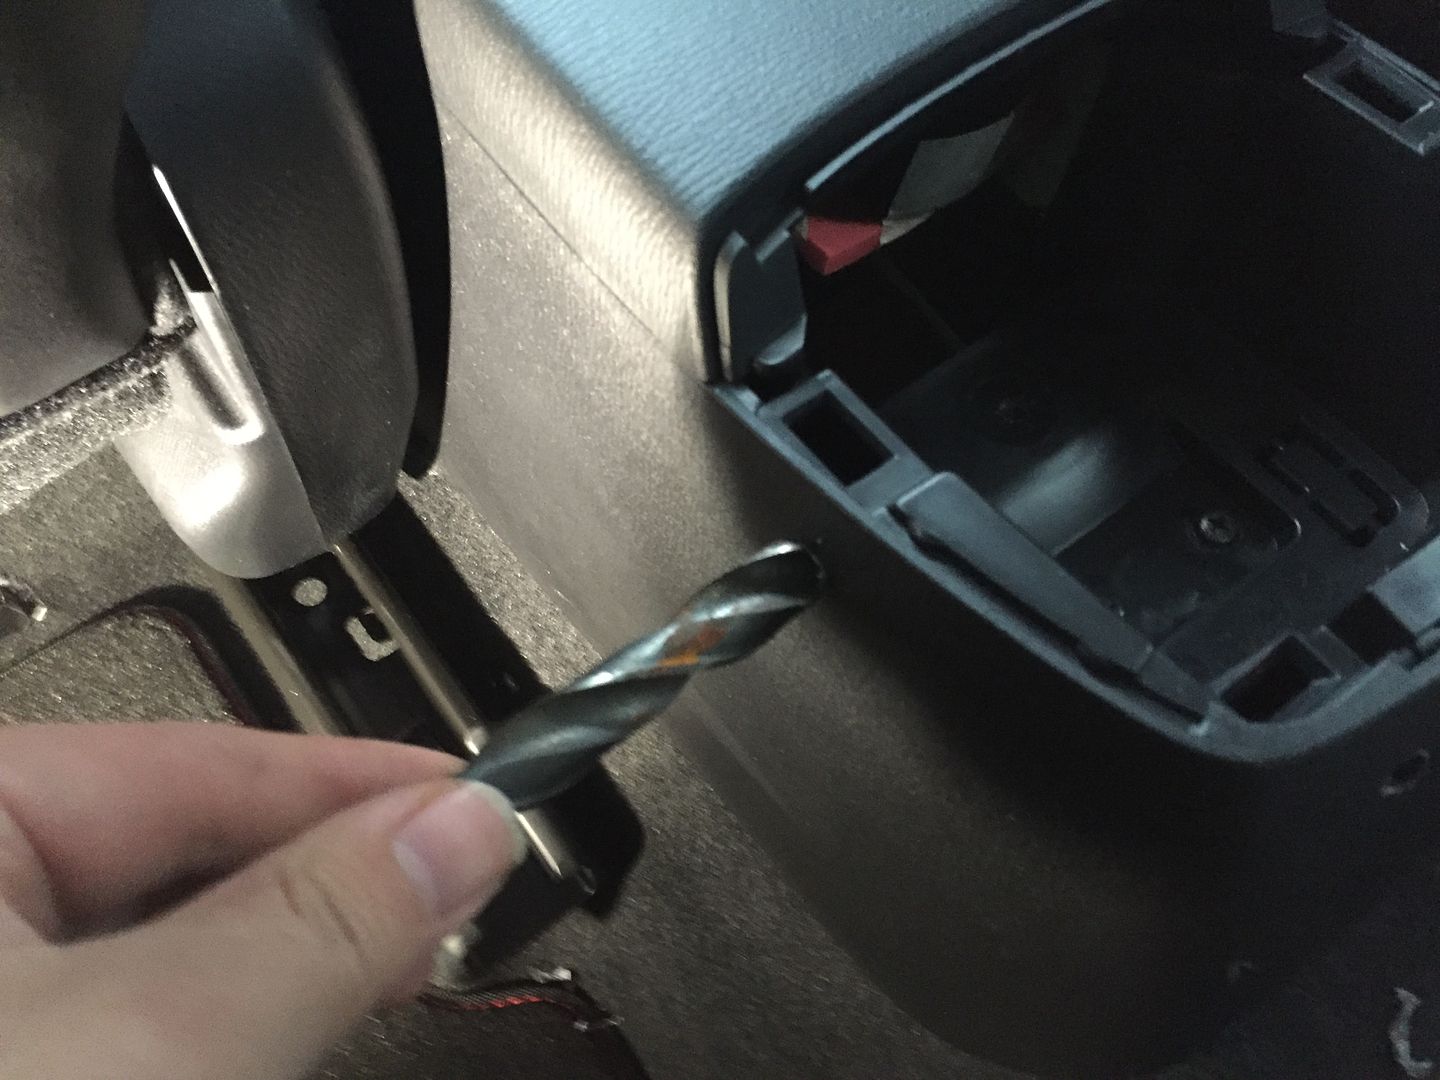
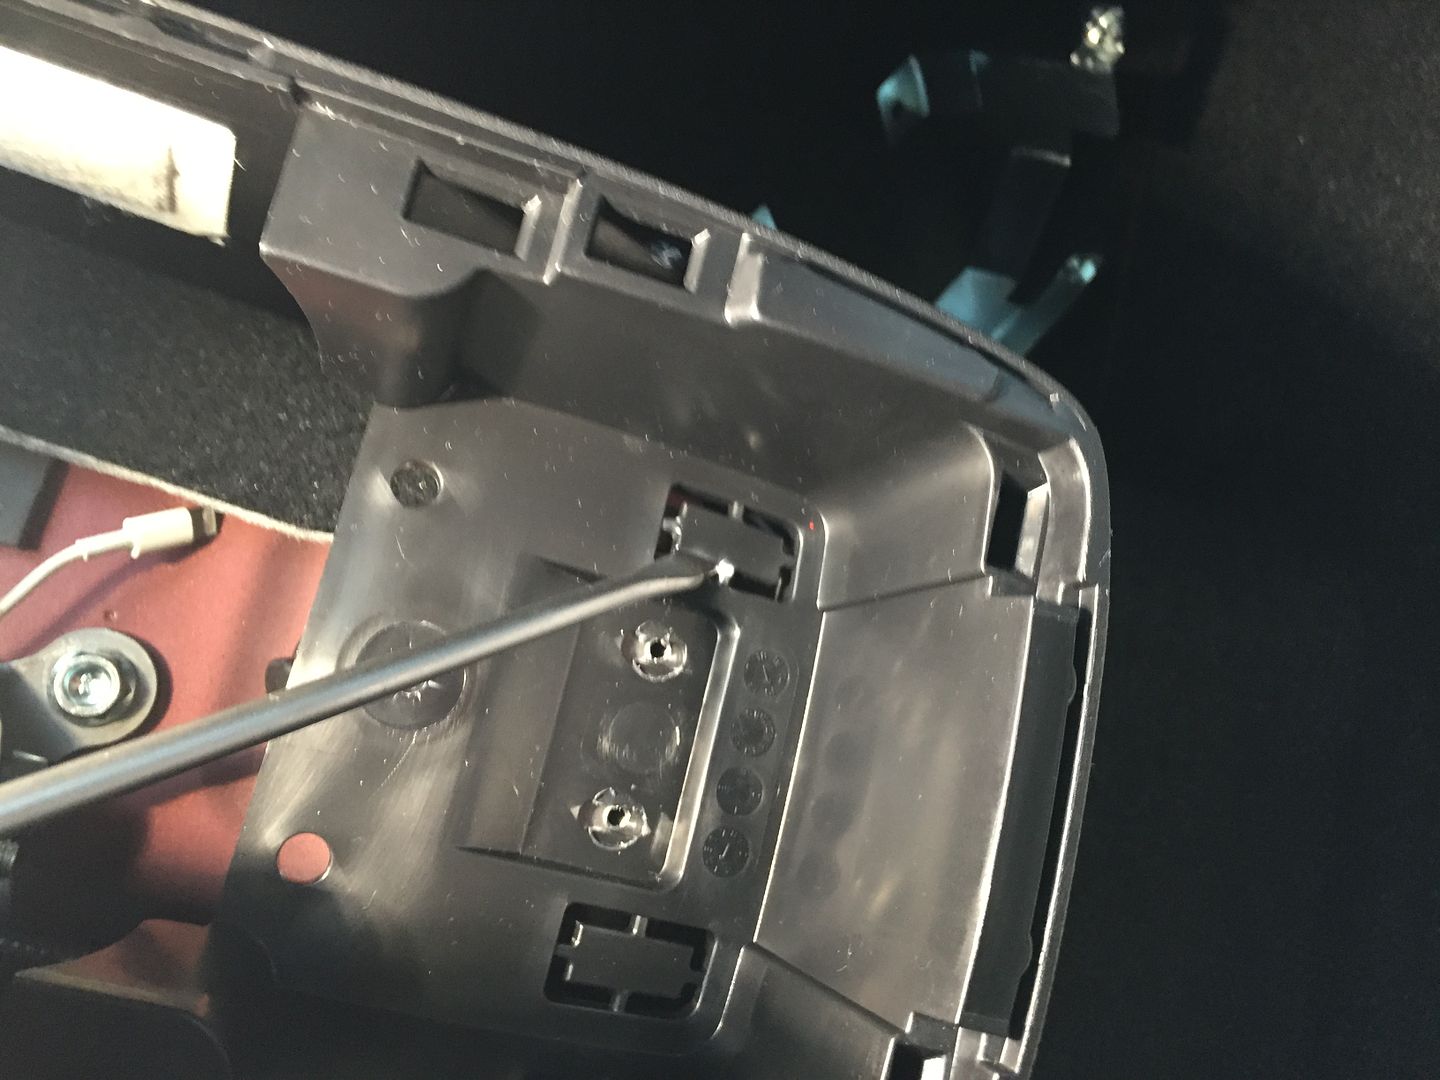
8. Now you have to get nasty and break out the access holes in the rear console which allow you to get a socket on the fixing bolts below. I used a screwdriver;
9. Now undo the two phillips screws;
At this stage, I lifted the rear of the console and propped it up on an aerosol lid. If anyone wants to go the whole hog and take the console off, let me know and I will post up the photo guide.
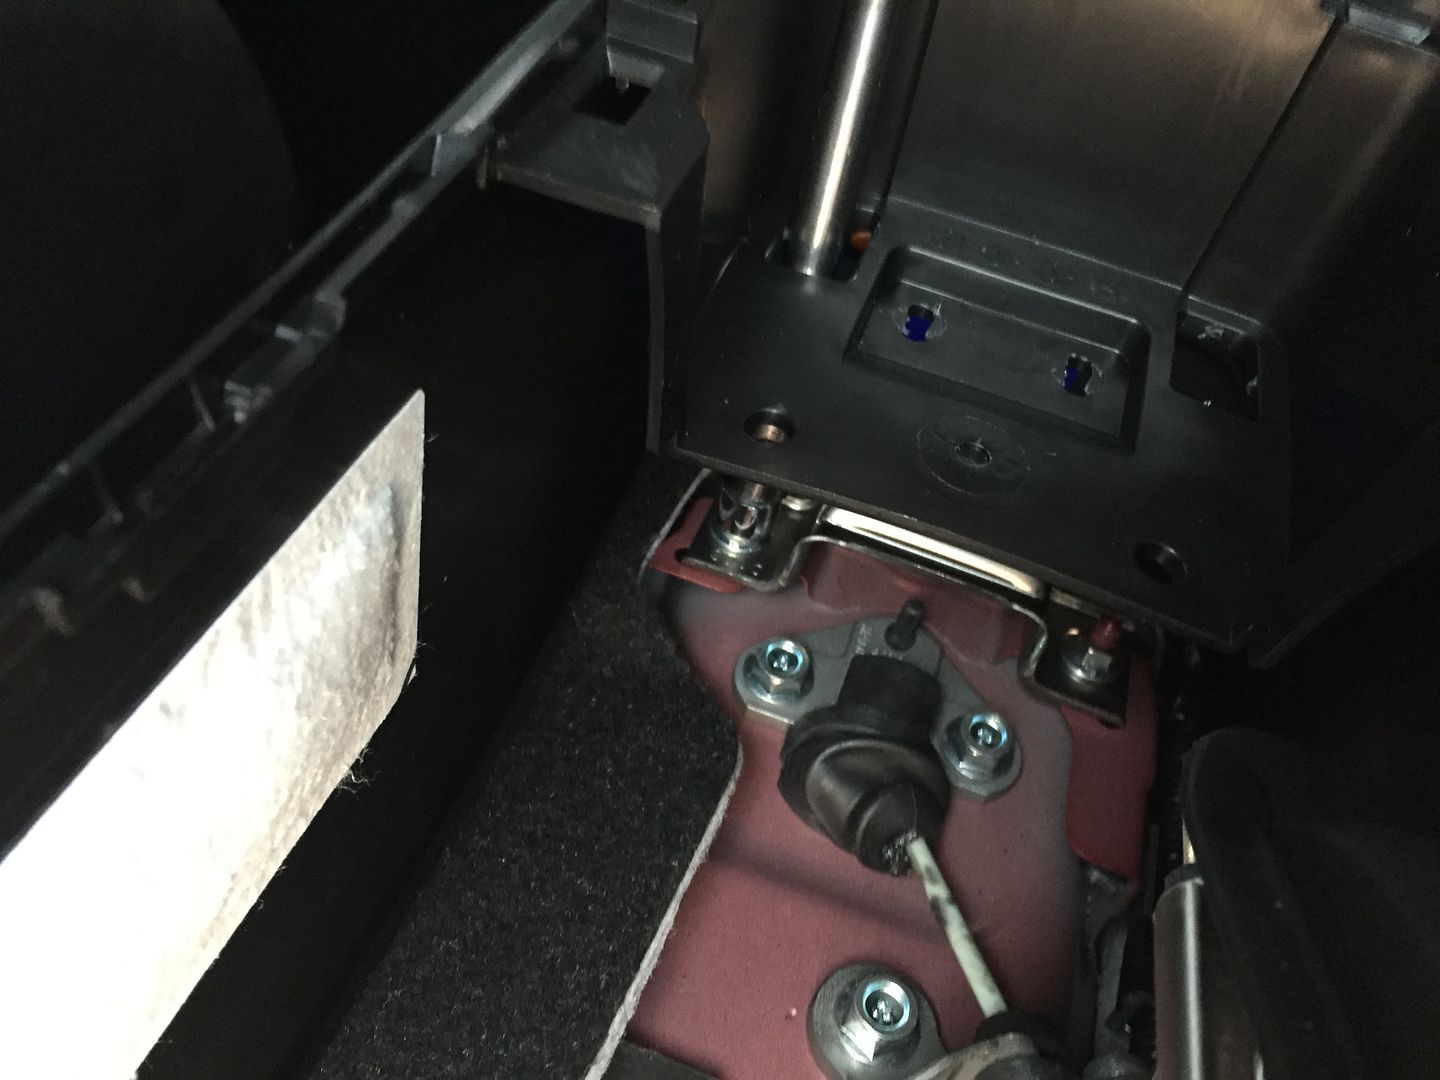
10. Those fixing screws go into a small bridging bracket under the console. You are going to use the nuts that hold it down to secure that big bracket I showed you earlier. Put a 12mm socket through the access hole and undo the nuts;
11. Now with the console slightly raised and propped as described, you can manoeuvre that big bracket inside the rear of the console and on top of that existing bracket. When in position it looks like this (sorry for the strange camera angle but on my own I was taking pictures with my teeth!);
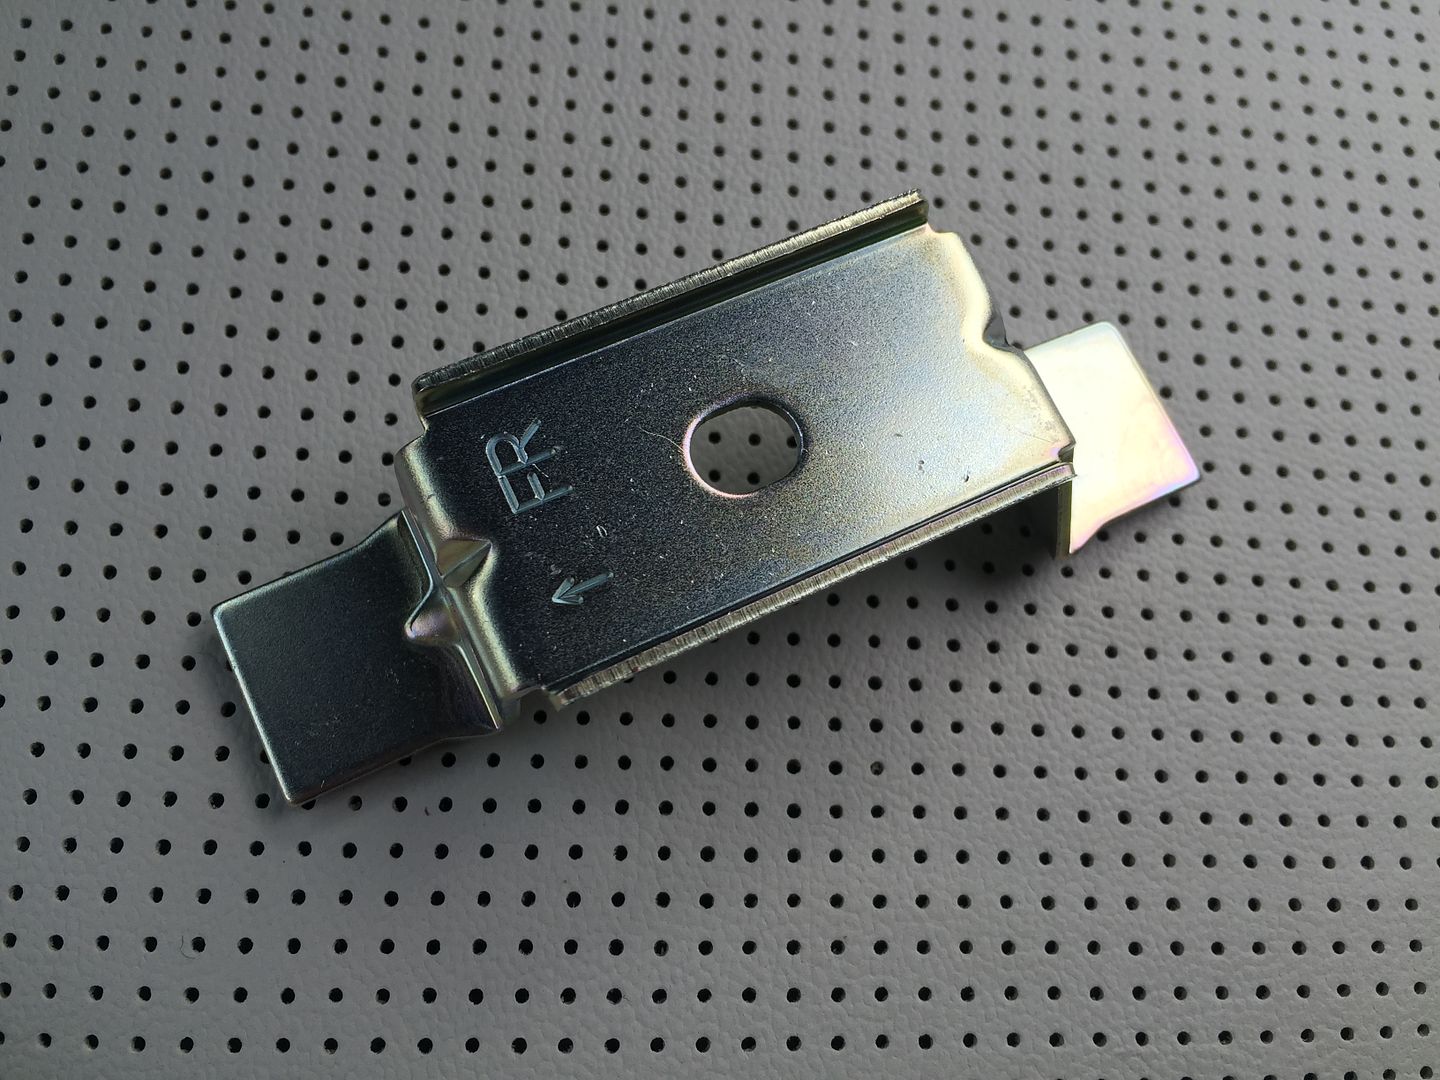
12. Next, this beautifully made bracket is added and to make things easier, it is marked up to show the front;
It has to be fitted on top of the heavy bracket and the instructions are very specific that it must not go on top of the carpet. Once in place, put your socket back through and tighten the nuts back up;
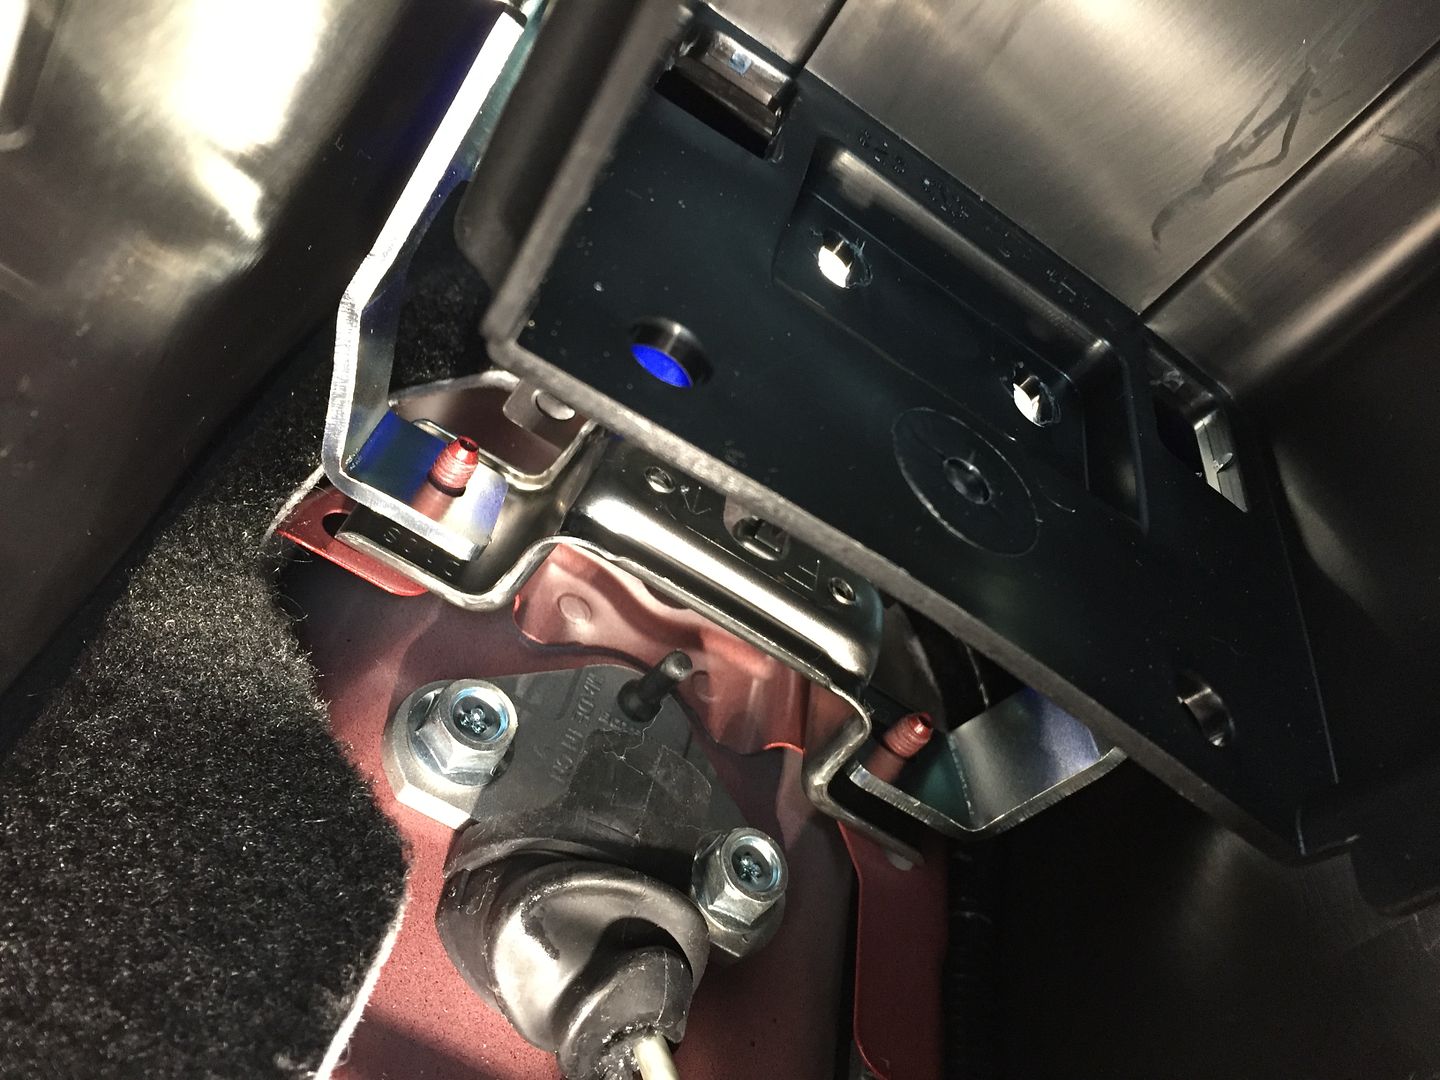
13. Once tightened, you can lower the console back over the bracket and replace the two phillips screws. You can see the bracket in position inside the console shell here;
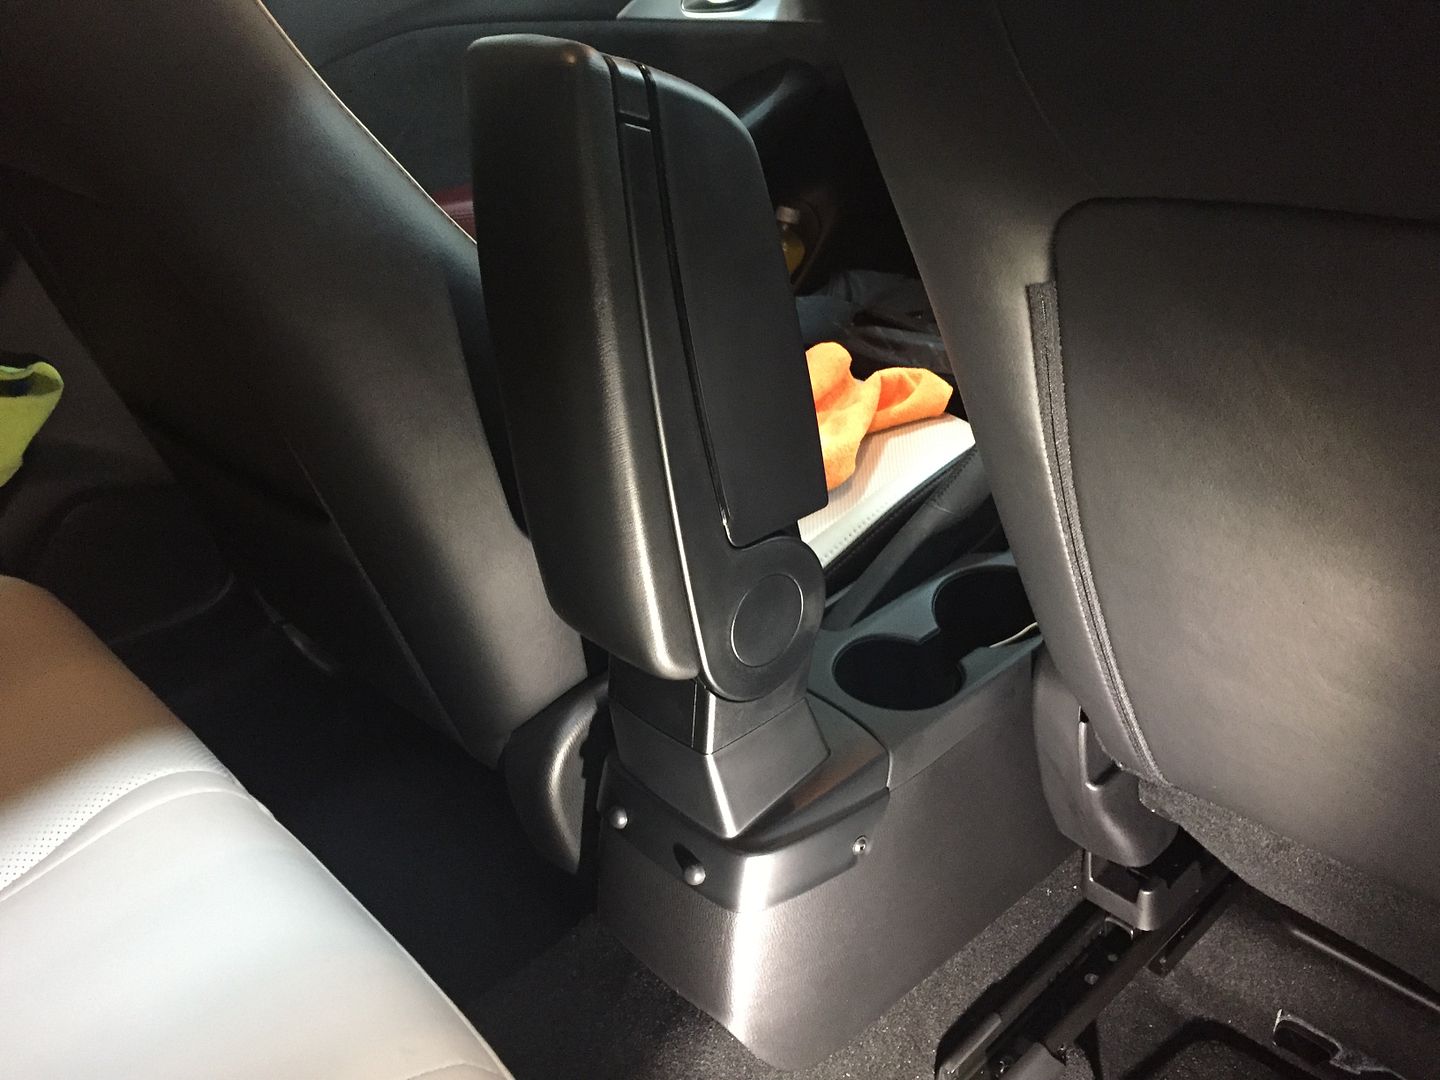
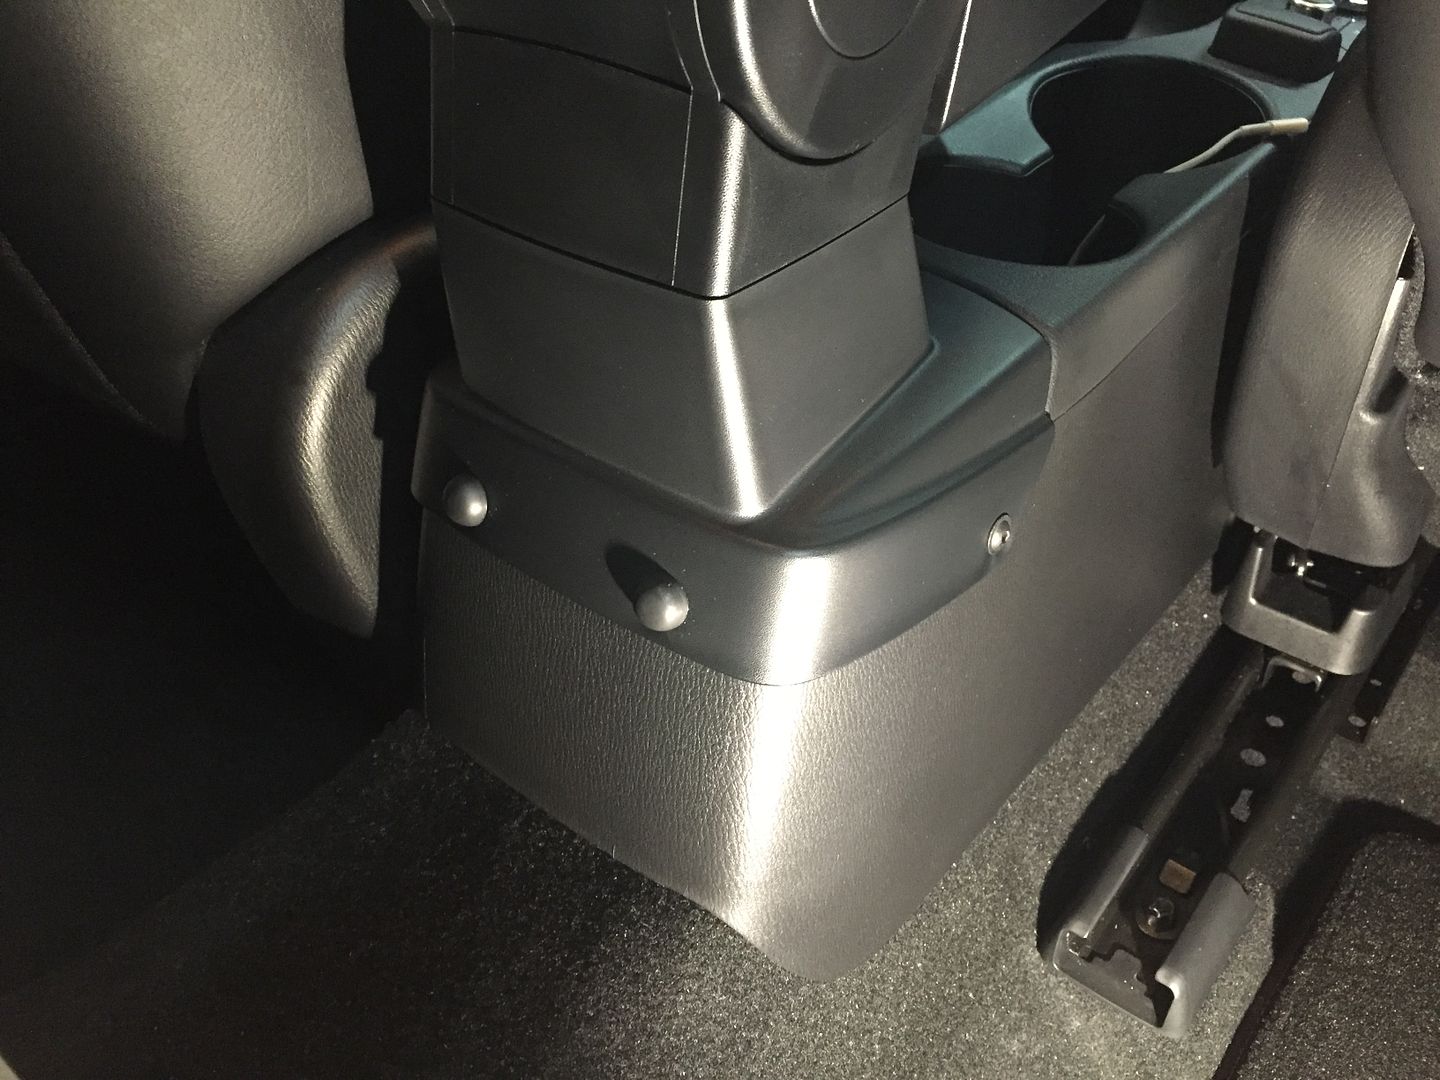
14. Now you can put the console panel back on remembering to plug in the command controller. Pop the trim back around the gear stick and the filler panel under the handbrake. Now lower the arm rest over the console and use the supplied fixings - black to the sides and bright with domed screw caps to the rear. It looks like this when assembled;
Here are the complete pdf instructions as promised;